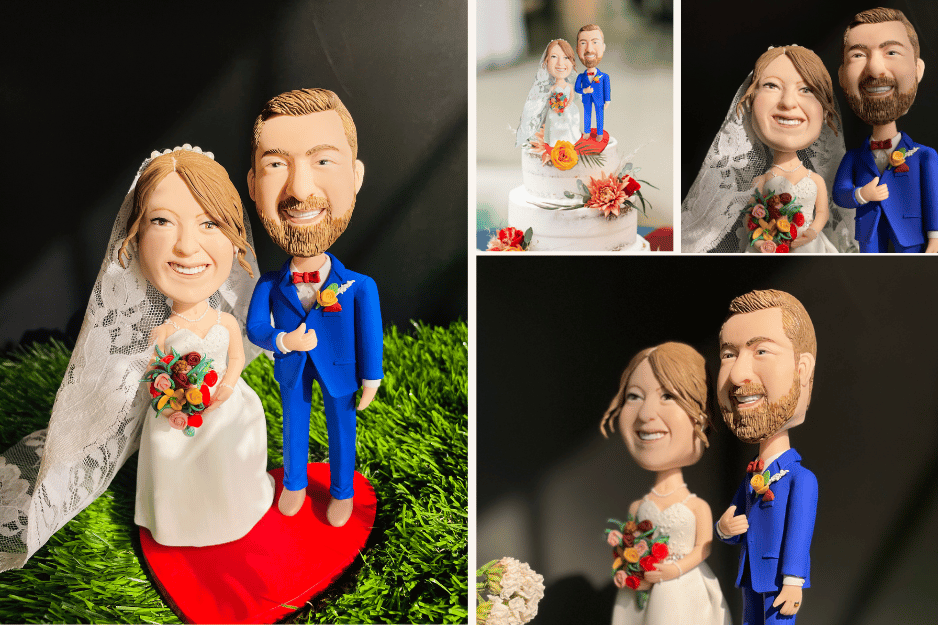
Step By Step Guide To Create a Custom Cake Topper
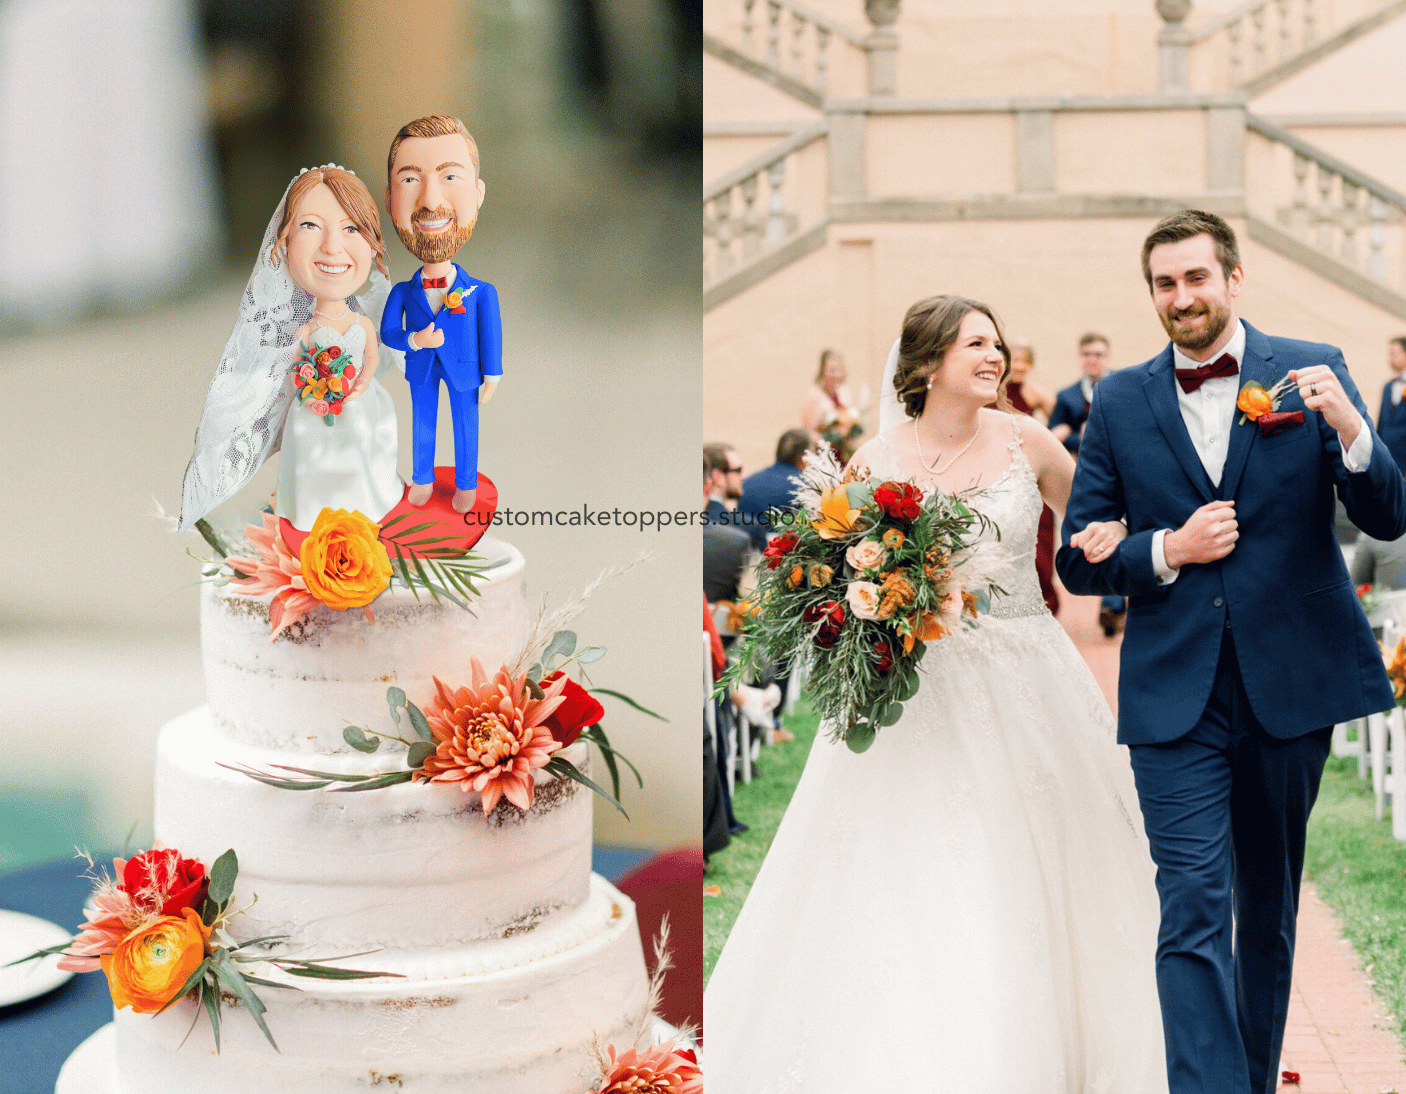
Fancy Cake Topper
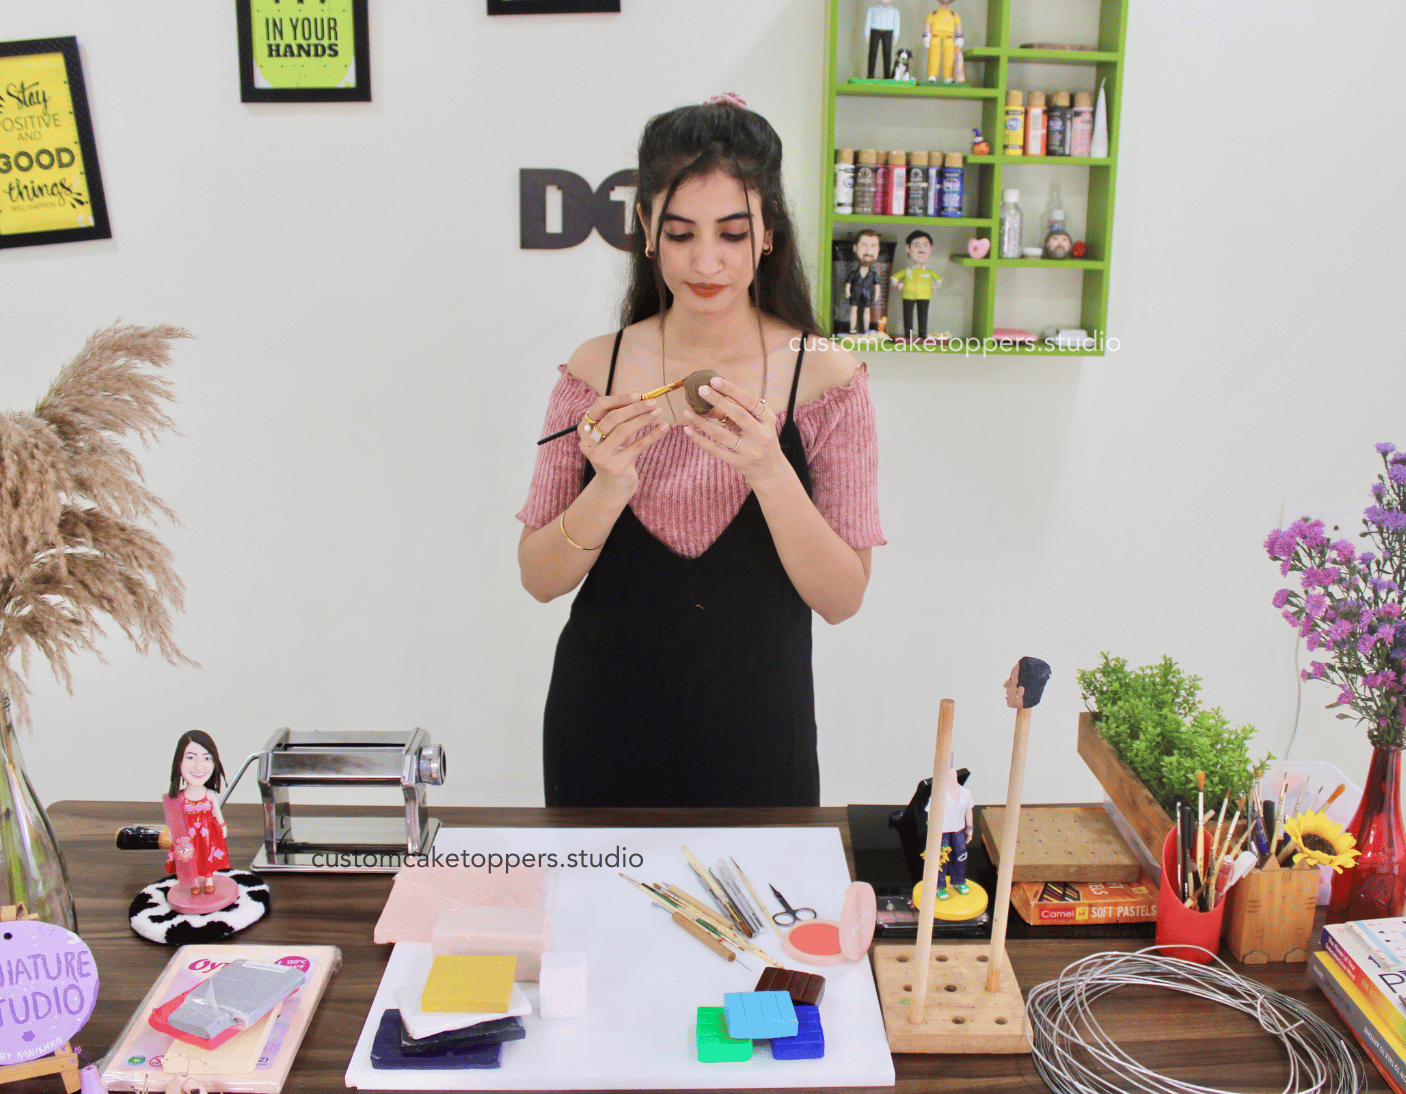
 Craft the Perfect Centerpiece: A Guide to Making a Personalised Clay Miniature Cake Topper
Ever looked at a cake and thought, “Wow, that’s pretty!”? Well, a lot of that “wow” comes from those cute little toppers sitting on the cake. Want to learn how to make one? You’re in the right place.
Why read this? Because making these Customised toppers is fun, easy, and could be your new favorite hobby. Plus, if you get really good, you could even turn it into a side business.
I’ve played around with making these, and trust me, it’s a blast. But enough about me. This guide is all about helping you get started. So, let’s jump in and make some cool cake toppers!
Setting the Stage for Personalised Cake Topper Mastery
Before you delve into the intricate world of miniature sculpting, the right preparation is paramount. Let’s get started with the essentials.
1. Materials and Tools Gathering
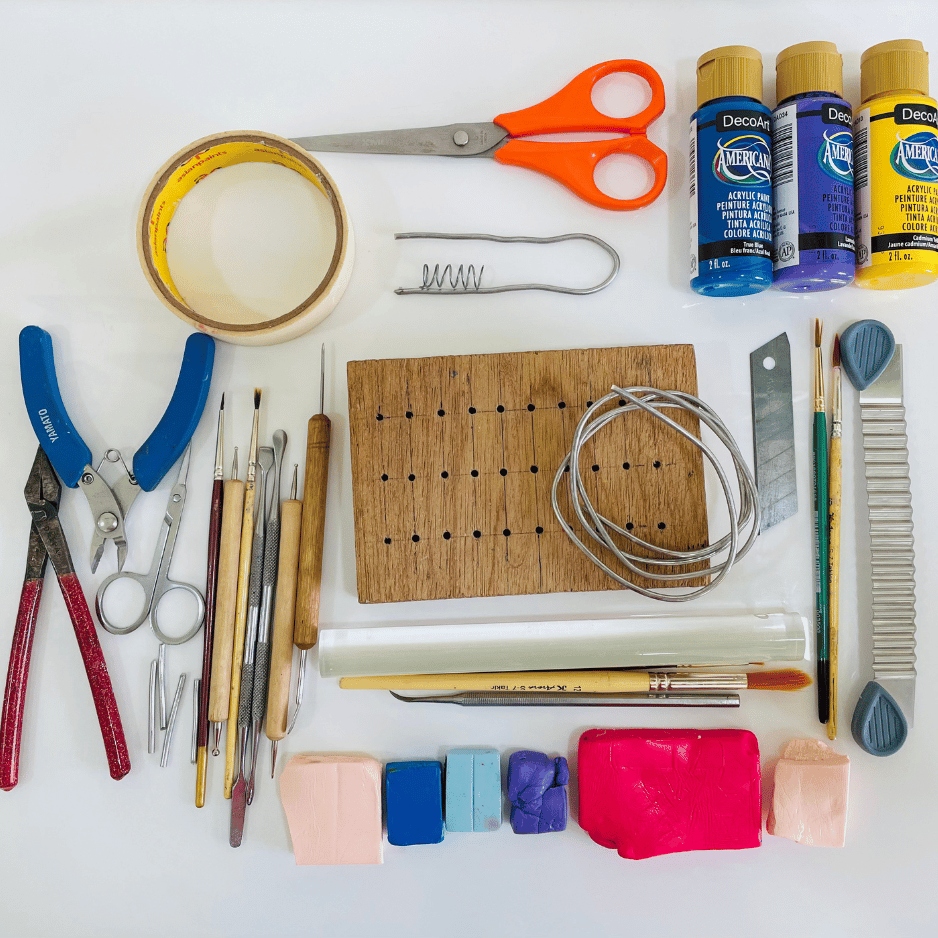
- Polymer Clay: Choose the colors you need for your miniature project.
- Sculpting Tools: A set of tools with various shapes and sizes for sculpting and detailing.
- Wire Cutters: To cut and shape the wire armature.
- 12 Gauge Aluminium Wire: This wire will form the armature, providing structure and support to the sculpture.
- Wooden Base with Holes: The base with holes will serve as a foundation for the armature and help stabilize your miniature.
- Paint and Brushes: These are needed to add color and details to your miniature.
- Oven: If you’re using polymer clay that requires baking to cure, you’ll need an oven for this step.
- Varnish: Applying varnish will protect and enhance the finished piece.
Creating the Wire Armature:
-
- Use the wire cutters to shape the 12 gauge aluminium wire into a basic framework for your miniature’s body and limbs. The armature’s shape will determine the pose and structure of the final piece.
- Insert the wire ends into the holes in the wooden base to secure the armature.
Adding Clay and Building Up the Form:
-
- Begin adding polymer clay to the armature. Start with larger pieces to define the main body parts and then build up smaller details.
- Use sculpting tools to smooth and shape the clay, creating the desired contours and textures.
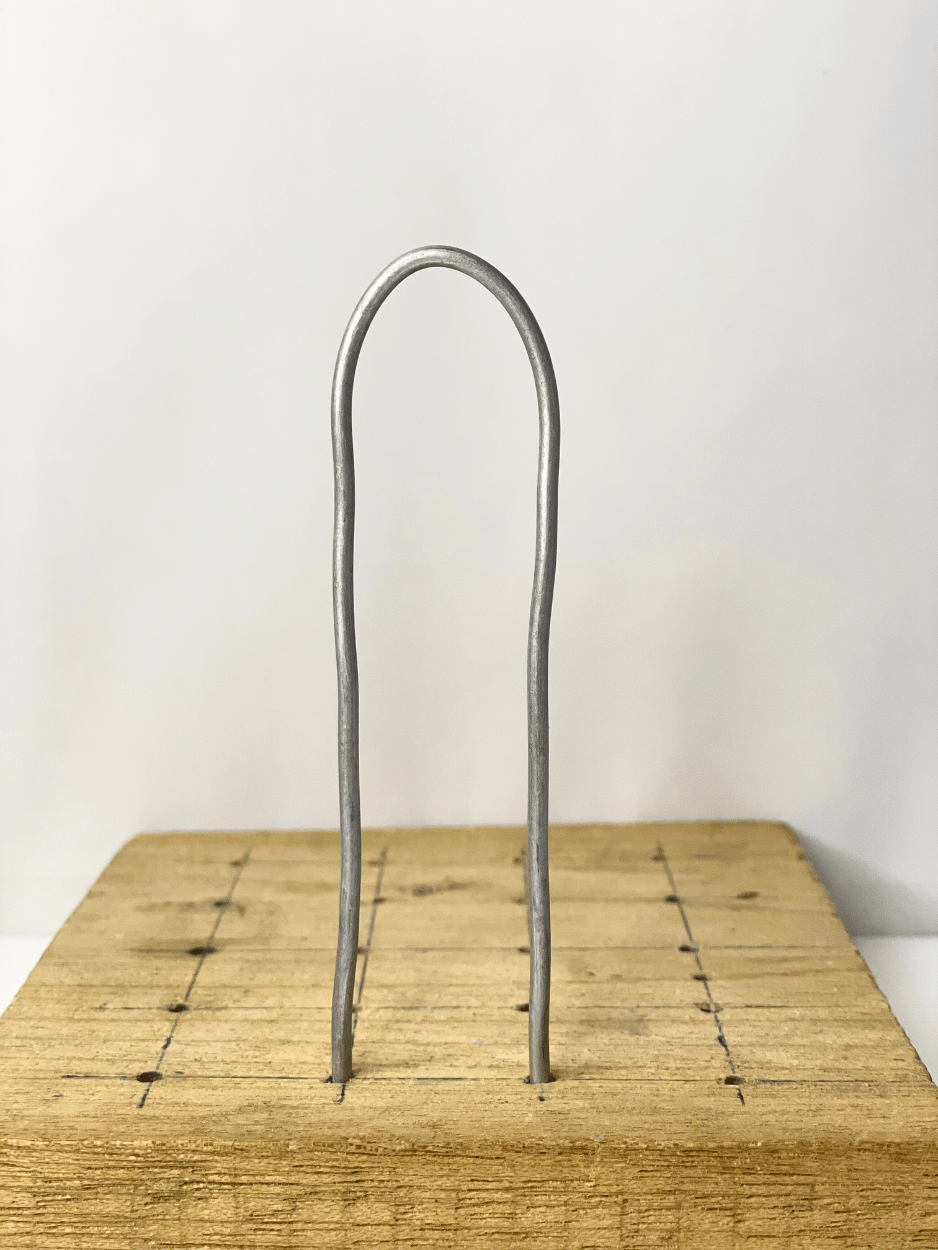
2. Creating the Wire Armature
-
- Fold and shape the 12 Gauge Aluminium Wire to form the basic outline of a standing person, including legs and limbs.
- Utilize pliers to bend the wire into the desired pose for your miniature.
- Insert the wire ends into the holes on the wooden base to secure the armature.
3. Adding Foil Paper and Paper Tape for Inner Structure
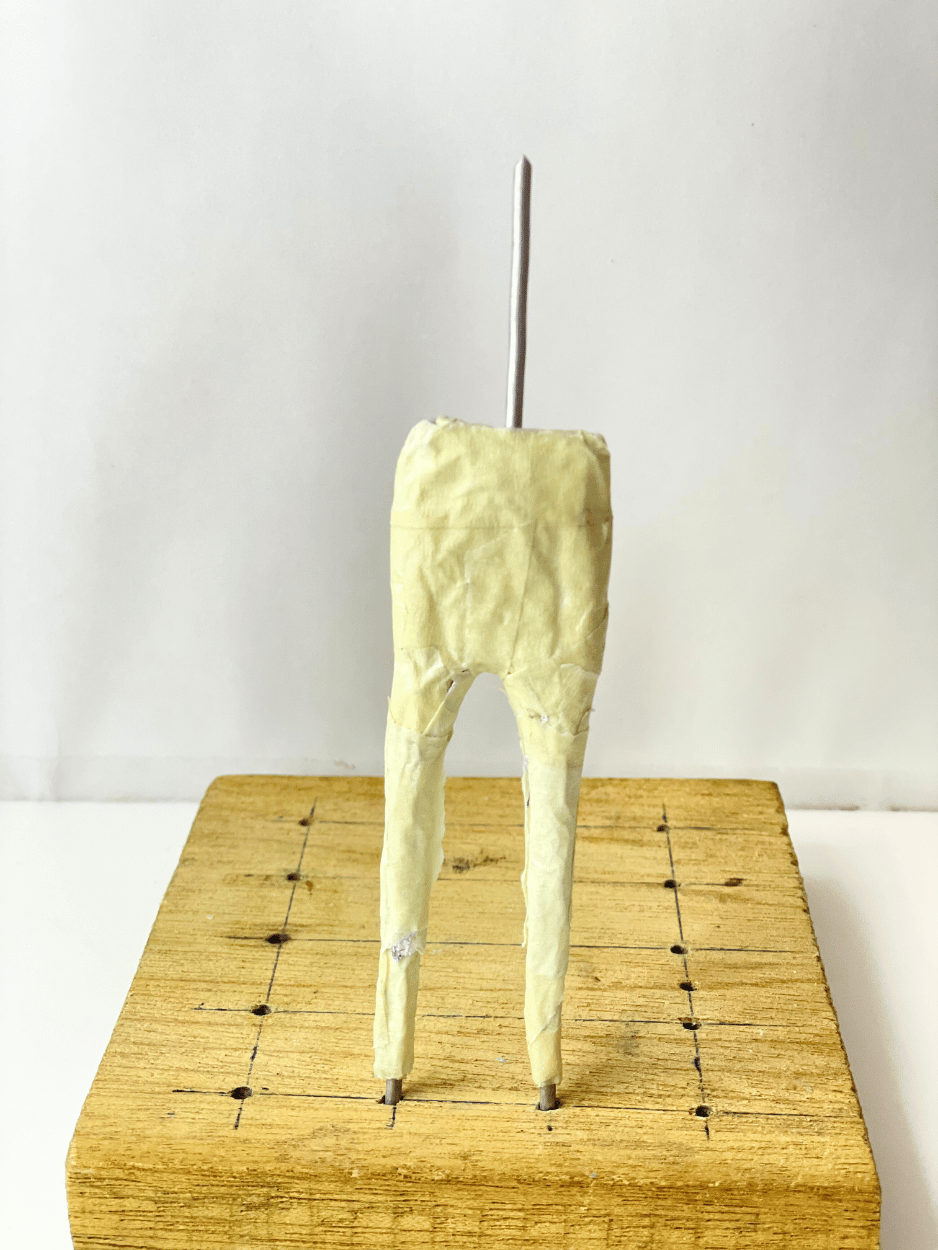
- To enhance the inner structure and add bulk to the body parts, cut strips of foil paper and wrap them around the wire armature. This will help you establish the general shape of the body.
- Use paper tape to secure the foil paper and shape it according to your design. This combination of materials allows for flexibility and easy manipulation of the structure.
- For the neck, insert a shorter piece of wire into the top of the torso to create the neck. Wrap foil paper around this wire and secure it with paper tape to form the neck’s shape.
4. Applying Clay to the Armature
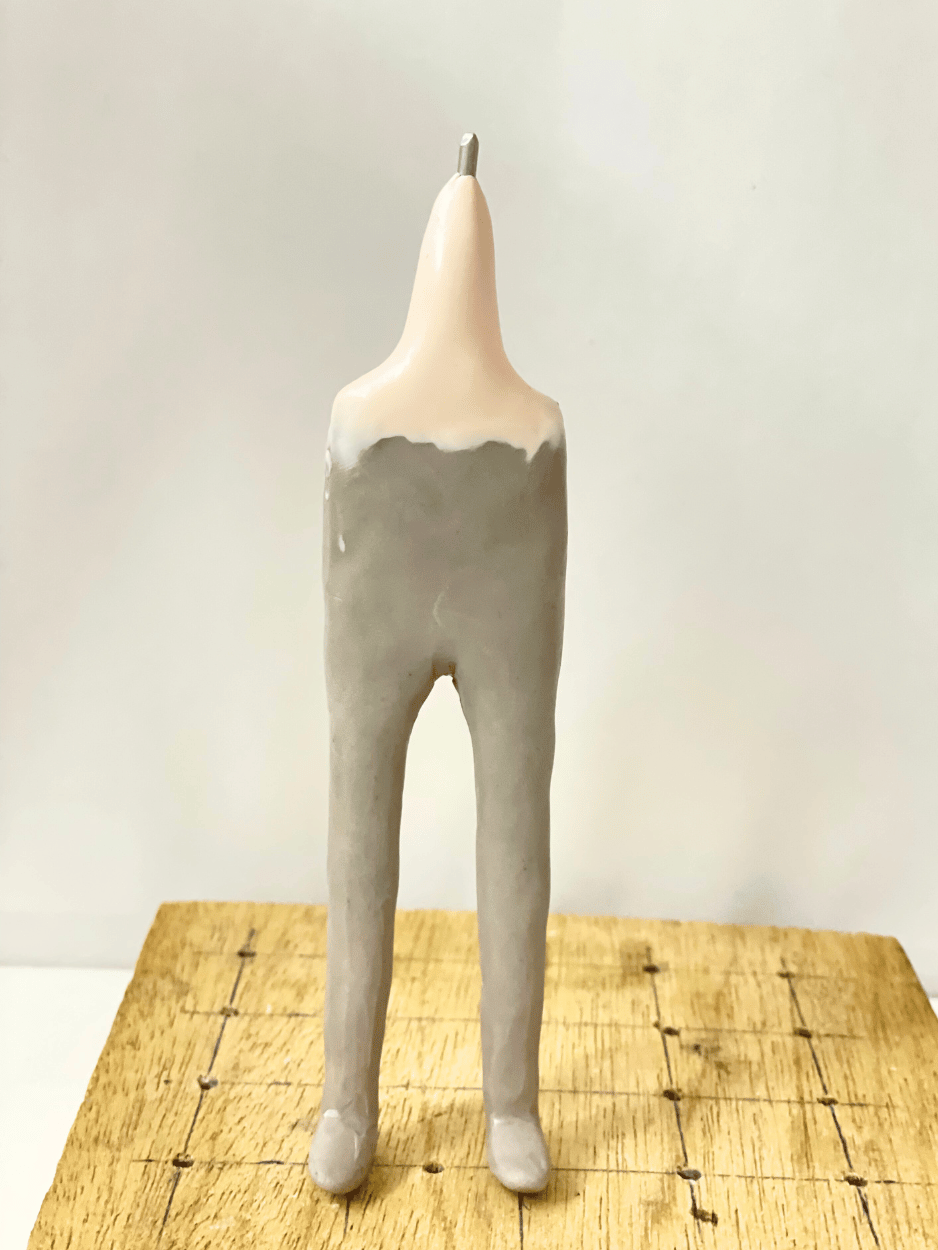
- With the inner structure prepared, begin applying polymer clay to the armature.
- Start with the larger body parts like the torso and legs. Use your sculpting tools to ensure the clay adheres well to the armature and creates the foundational shape of your miniature.
- Focus on achieving the desired proportions and capturing the pose you have in mind.
- As you work, be mindful of how the foil and tape layers interact with the clay. The foil and tape create a core that supports the clay and helps prevent cracking during baking or drying.
Remember to take your time during each step of the process. Working with the inner structure of foil paper and tape can provide a solid foundation for adding clay and creating intricate details. This method allows for a balance between structural integrity and creative expression.
5. Clothing and Footwear
After you have coated the inner body of your clay miniature with clay, you can start working on the footwear and clothing. Here are some steps to follow:
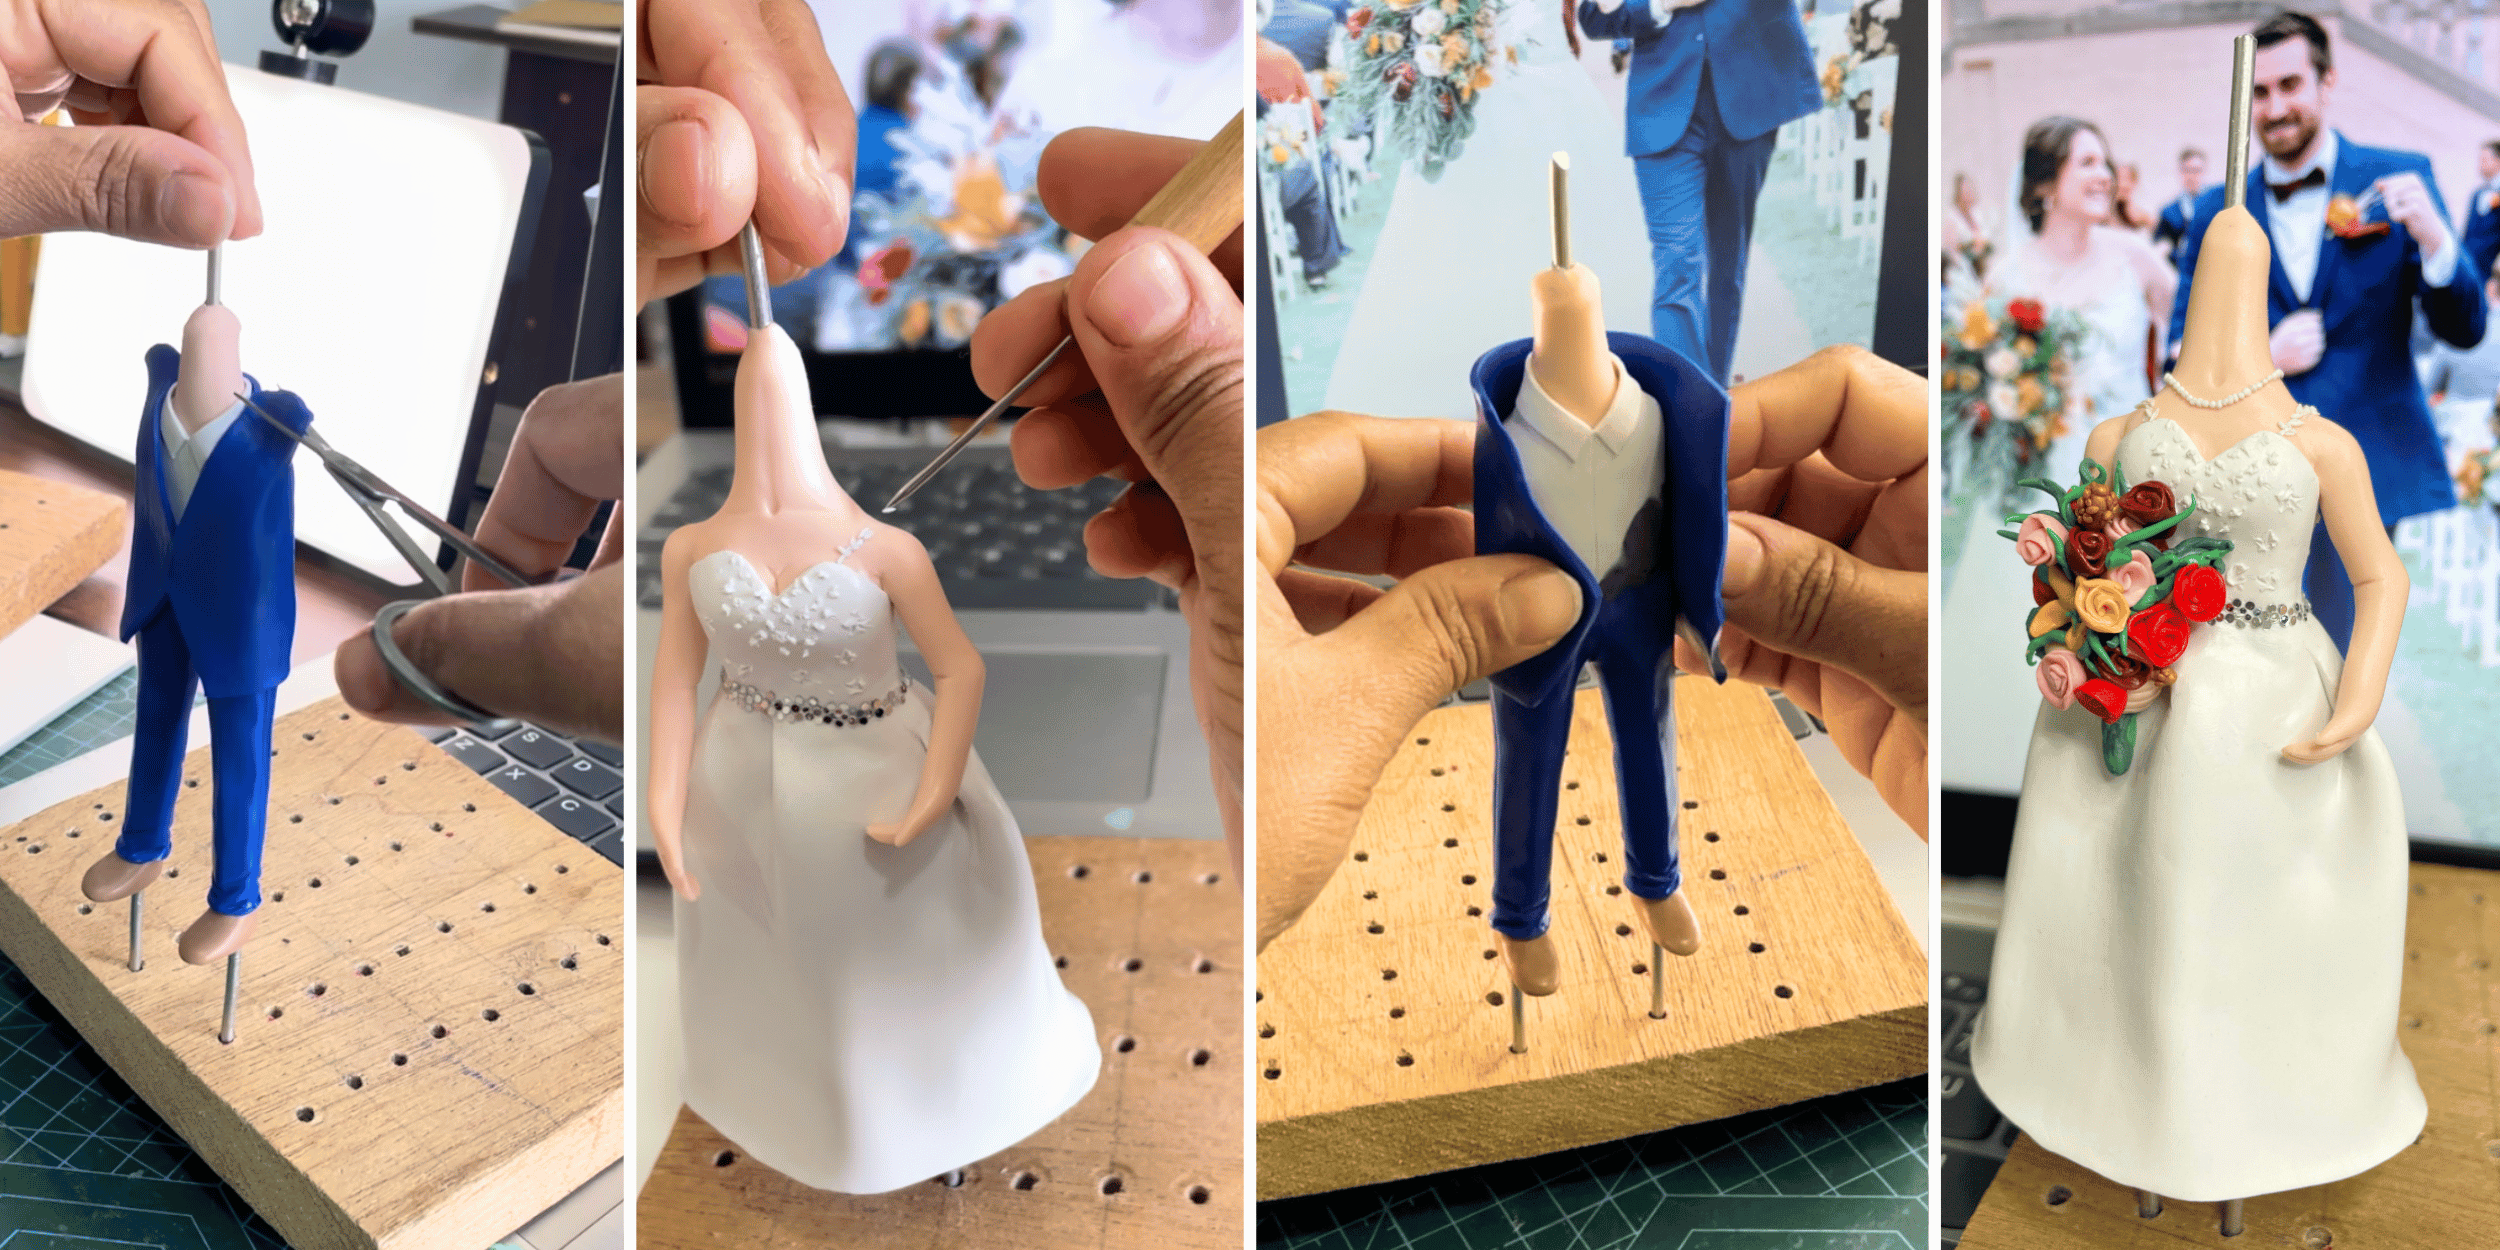
- Decide on the desired footwear and clothing for your miniature, and gather reference images if needed.
- Take small amounts of clay of your desired colour and shape them into the desired footwear or clothing shapes. You can use sculpting tools to create details like buttons, zippers, or seams.
- Place the clay shapes onto the body of the miniature, using your fingers and tools to smooth and blend the edges where they meet the body.
- Continue to add layers of clay to build up the clothing and footwear, paying attention to the folds and wrinkles in the fabric. You can use tools like toothpicks or the tip of a paintbrush to create texture and detail.
- Once you are happy with the shape and appearance of the clothing and footwear, smoothen the clay using Baby oil with fingers or soft thin brush (to wipe out any dirt or finger prints on the clay)
6. Creating the Clay Base
When the clay miniature is complete, you’ll want to create a suitable base for it to stand on. Here’s how to do it:
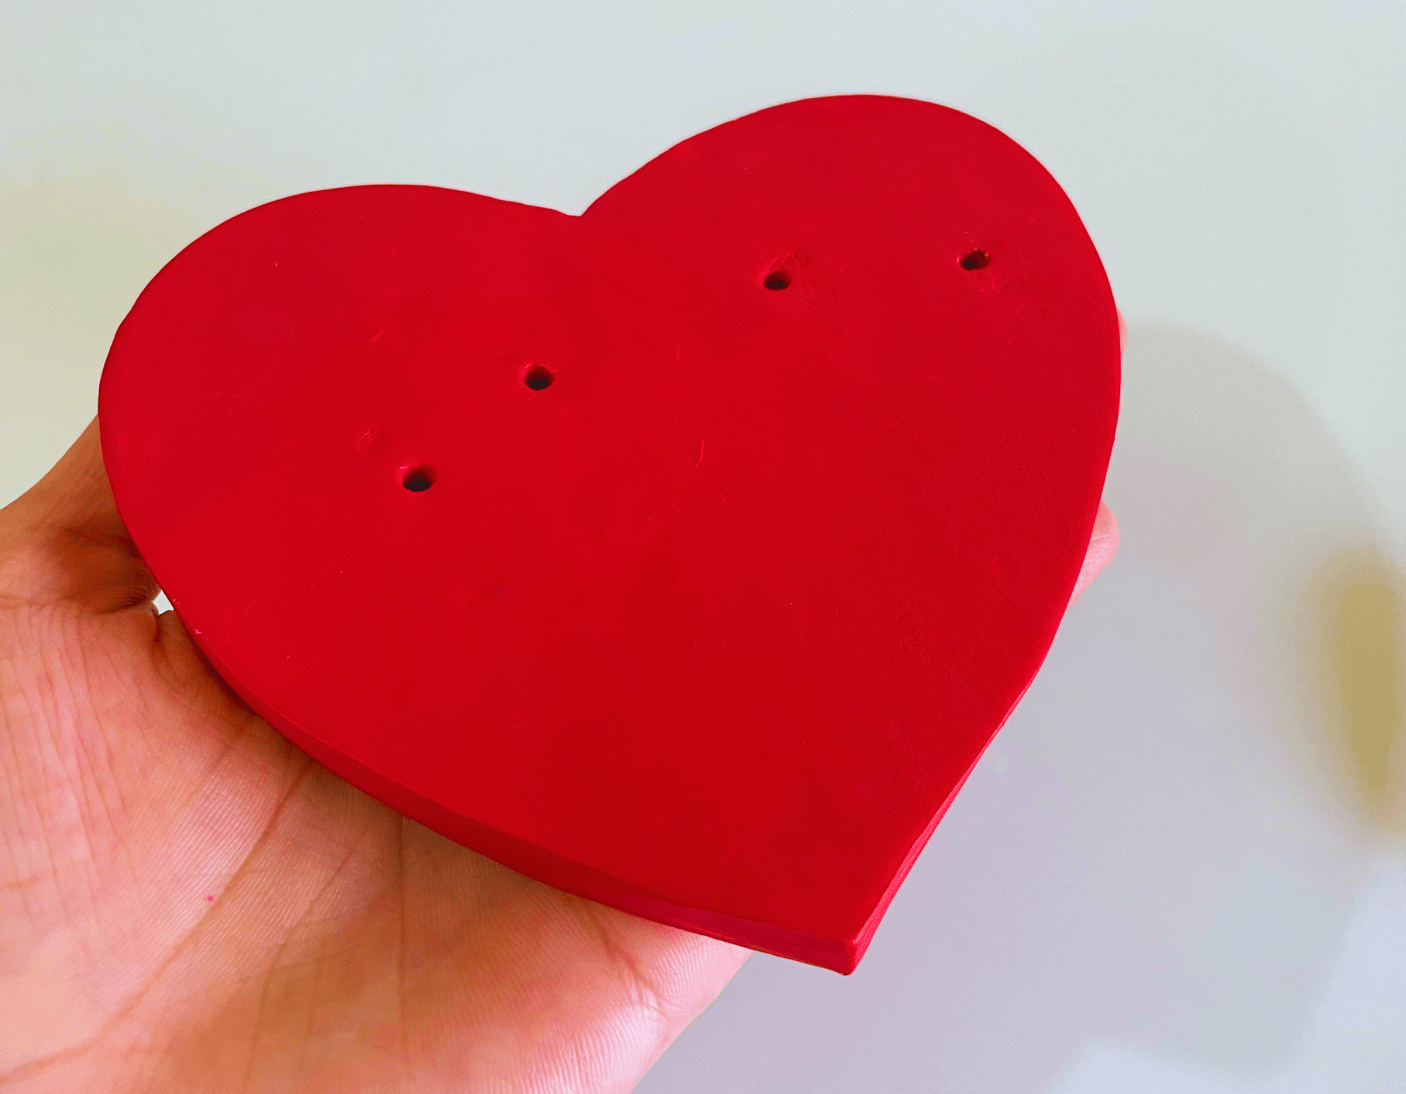
- Decide on Base Shape and Size:
- Determine the shape and size of the base that will complement your miniature sculpture. This could be round, heart-shaped, square, rectangle, or any other shape that suits your project.
- Gather Materials:
- Make sure you have enough clay in the color you desire for the base.
- If you’re using a cookie cutter, have it ready for shaping.
- Roll Out Clay:
- Roll out a layer of clay to the desired thickness for your base. The thickness should provide stability and support for your miniature.
- Cut Out Base Shape:
- Use a cookie cutter or a knife to cut out the desired shape for your base. Make sure it’s large enough to accommodate your miniature.
- Shape Edges:
- Use sculpting tools, a knife, or your fingers to refine the edges of the base, creating a smooth and finished appearance.
- Create a Stand Hole or Indentation:
- In the center of the base, create a hole or indentation that matches the size and shape of the bottom of your miniature. This will allow the miniature to stand securely on the base.
- Add Details:
- If you want to enhance the base, you can add textures, patterns, or small details like stones, grass, or other elements that complement the theme of your sculpture.
- Bake the Base:
- Follow the baking instructions specific to the type of clay you’re using. Make sure to use the appropriate temperature and duration for baking to ensure that the base becomes solid and stable.
Once the base is baked and cooled, you can attach your miniature to it using a strong adhesive or by embedding the miniature’s stand (if applicable) into the hole or indentation you created. This custom base adds a professional touch to your miniature and provides a stable display for your finished artwork.
7. Baking of the Miniature

- Attach to the Base:
- Once the base is fully baked and dried, securely place your miniature onto the base, ensuring it’s anchored in the hole or indentation you created. Use additional clay or clay glue if needed to hold the miniature in place.
- Second Baking:
- Return the entire piece (miniature attached to the base) to the oven for baking. Follow the manufacturer’s instructions for temperature and time.
- Baking at a low temperature (around 1-2 hours) is recommended to ensure the miniature is fully cured and hardened.
- Cooling:
- Allow the piece to cool completely before handling. This cooling process is important to prevent any structural changes or cracks due to sudden temperature changes.
8. Paint and Finish
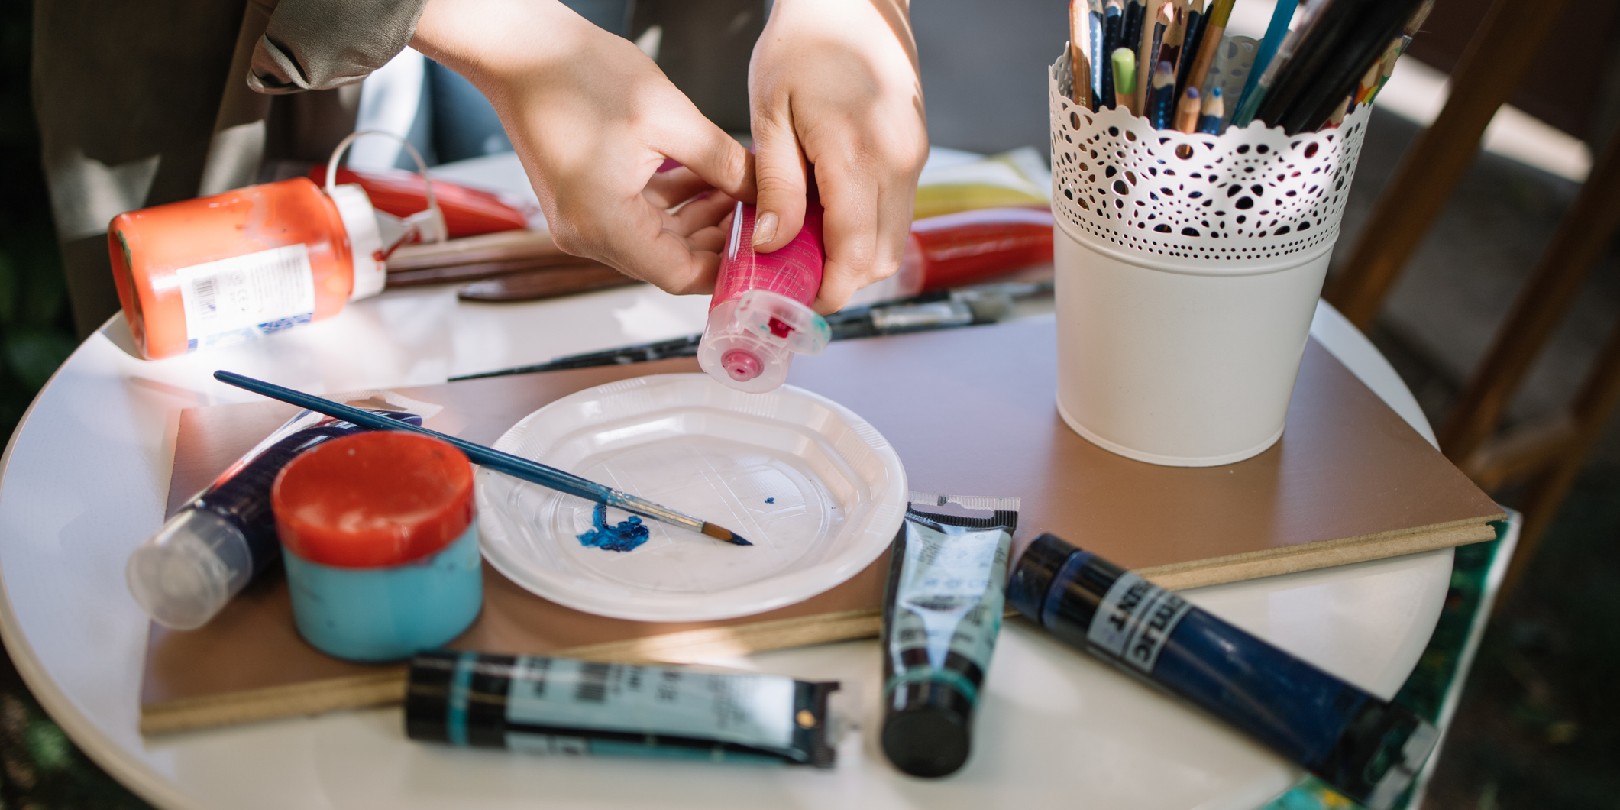
- Painting:
- Once your miniature is fully dry and cured, you can start painting it. Use acrylic paints and fine brushes to apply colors, textures, and details to your miniature. Take your time and be patient with this step, as painting can greatly enhance the final appearance.
- Varnish or Sealant:
- After painting, apply a varnish or sealant to the surface of the miniature. This protective layer will safeguard the paint and prevent it from chipping or fading over time.
By following these steps, you can create a beautiful and long-lasting clay miniature that’s ready to be displayed and admired. Remember to enjoy the creative process and don’t hesitate to experiment with different techniques to achieve the results you desire.
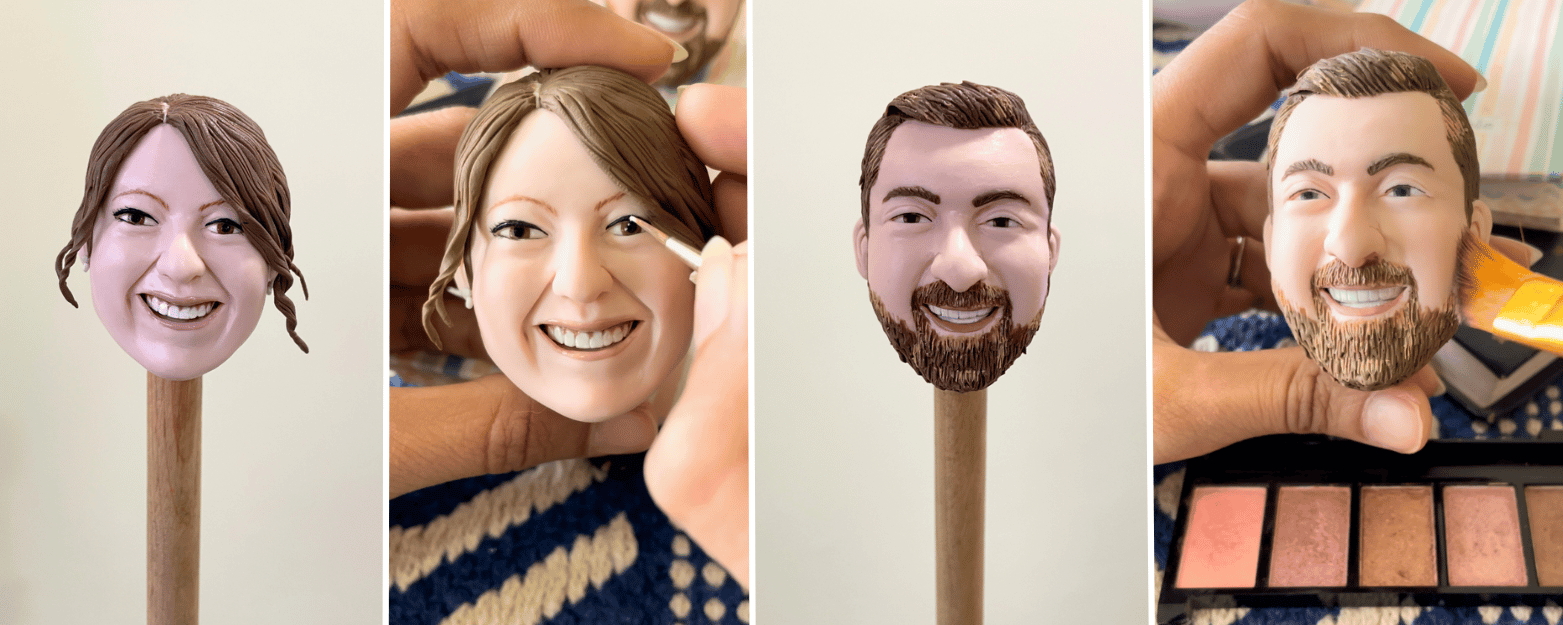
9. Steps to Make Detailed Face and Hair of the Miniature
To create a detailed and realistic clay miniature, it’s important to pay attention to the face and hair. Here are the steps you can follow:
- Prepare the Head:
- Using a wooden stick, create a hole in a ball of clay that will serve as the head/face of the miniature. This hole will later allow you to attach the head to the body.
- Sculpting the Face:
- Sculpt the face using clay in an appropriate skin tone. Keep the work area clean by periodically wiping the face with baby wipes to prevent dirt or particles from sticking to the surface.
- Adding Facial Details:
- Utilize clay sculpting tools and your fingers to add intricate details to the face, including the eyes, nose, and mouth. Reference images can be helpful for achieving realism.
- Creating Realistic Hair:
- Sculpt the hair using specialized tools to add texture and volume. Ensure that the transition between the hair and the face is smooth and natural.
- Baking the Face:
- Bake the sculpted face at the lowest recommended temperature for about 1-2 hours. This ensures proper curing while preventing any damage to the clay.
- Attaching the Face:
- Use a strong adhesive to attach the baked face to the neck of the miniature. Allow it to dry for a full 24 hours at room temperature to ensure a secure bond.
- Final Touches:
- To enhance the lifelike appearance, add blush and other makeup details to the face using appropriate paint. You can reference real makeup techniques for guidance.
- Apply a glossy varnish to the eyes and lips to achieve a more realistic and vibrant look.
By following these steps, you can create a captivating and detailed face and hair for your clay miniature, enhancing its overall realism and visual appeal. Remember that patience and attention to detail are key to achieving the desired outcome.
By following these steps, you can create a clay miniature that is not only well-crafted and detailed, but also visually striking and realistic.
TLDR :
- Gather Materials: Stock up on polymer clay, sculpting tools, wire, paint, brushes, oven, and varnish.
- Create Wire Armature: Shape 12 Gauge Aluminium Wire into your desired pose and anchor it on a wooden base.
- Add Structure: Wrap foil paper around the wire for bulk, and secure with paper tape.
- Apply Clay: Coat the structure with polymer clay, focusing on body parts first and refining with sculpting tools.
- Detail Clothing and Footwear: Add layers of clay for clothes and shoes, refining details like buttons or seams.
- Make a Base: Decide on a shape, roll out clay, cut, shape, and create a spot for your miniature to stand.
- Bake: Anchor miniature to the base, and bake both together as per clay instructions.
- Paint and Protect: Use acrylics for detailed painting and coat with varnish or sealant.
- Face and Hair: Sculpt a detailed face and hair, bake, attach to the body, and enhance with makeup details for realism.
In a nutshell: Begin with a wire structure, bulk up with foil, coat with clay, add details, bake, paint, and enjoy your crafted masterpiece!